Installation
You'll Need
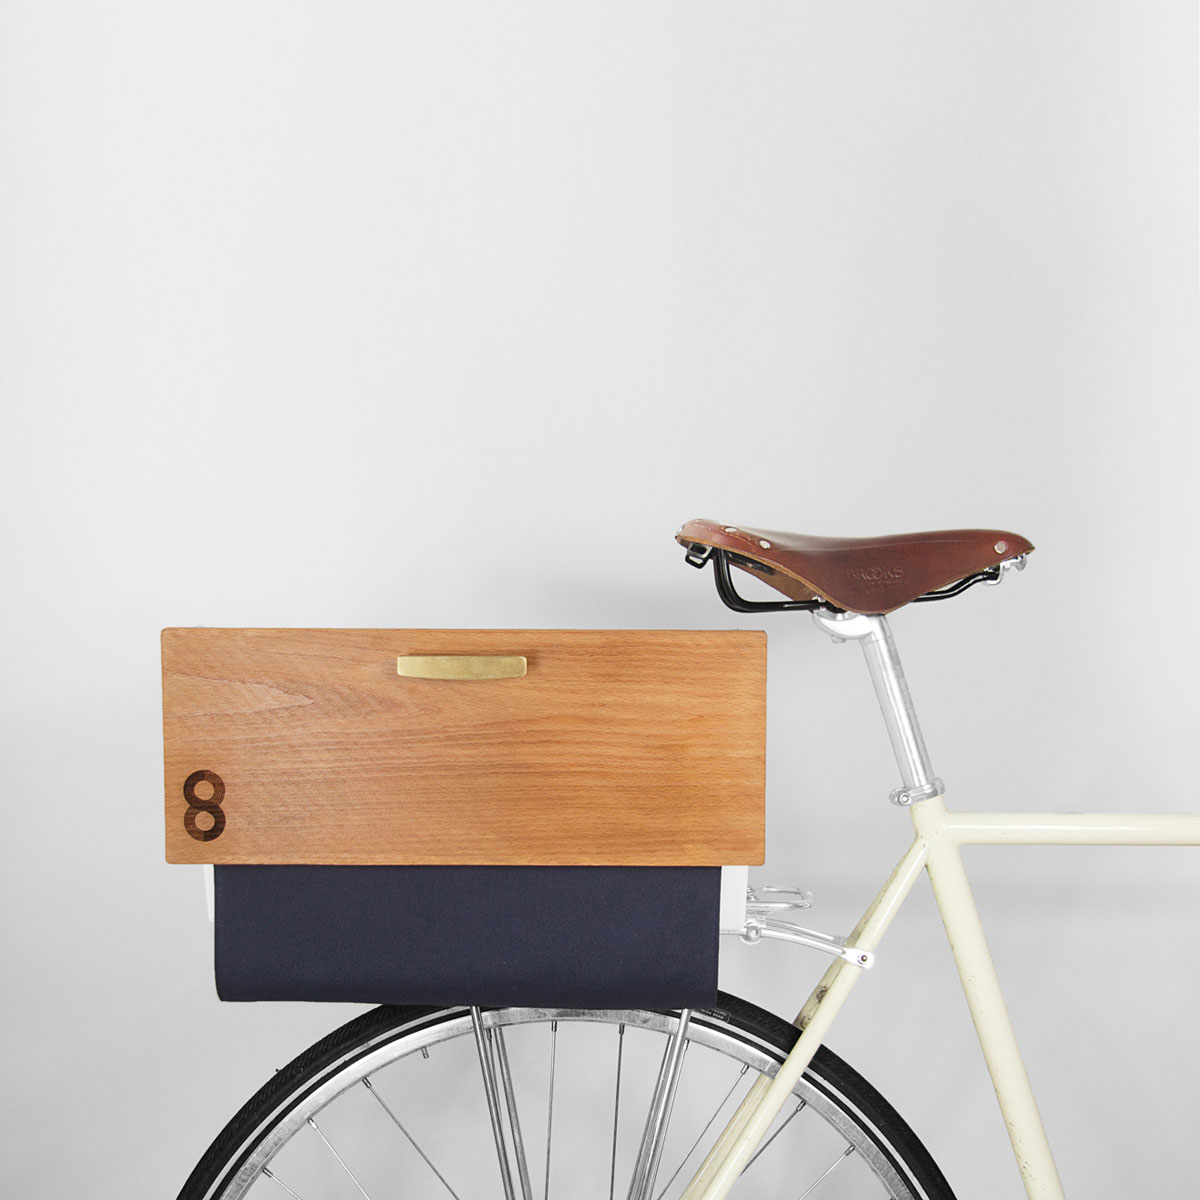
Rear Rack
On Your Bike
Common Sense
Your Head
What's Included
2 Brackets
For Security
8 Screws
4 Short / 4 Long
4 Washers
For Stability
Diagram
Screws
Washers
Attached from inside Buca Boot
Rack
Brackets
Placed below rack, above back wheel
-
Step 1
Grab your bike!
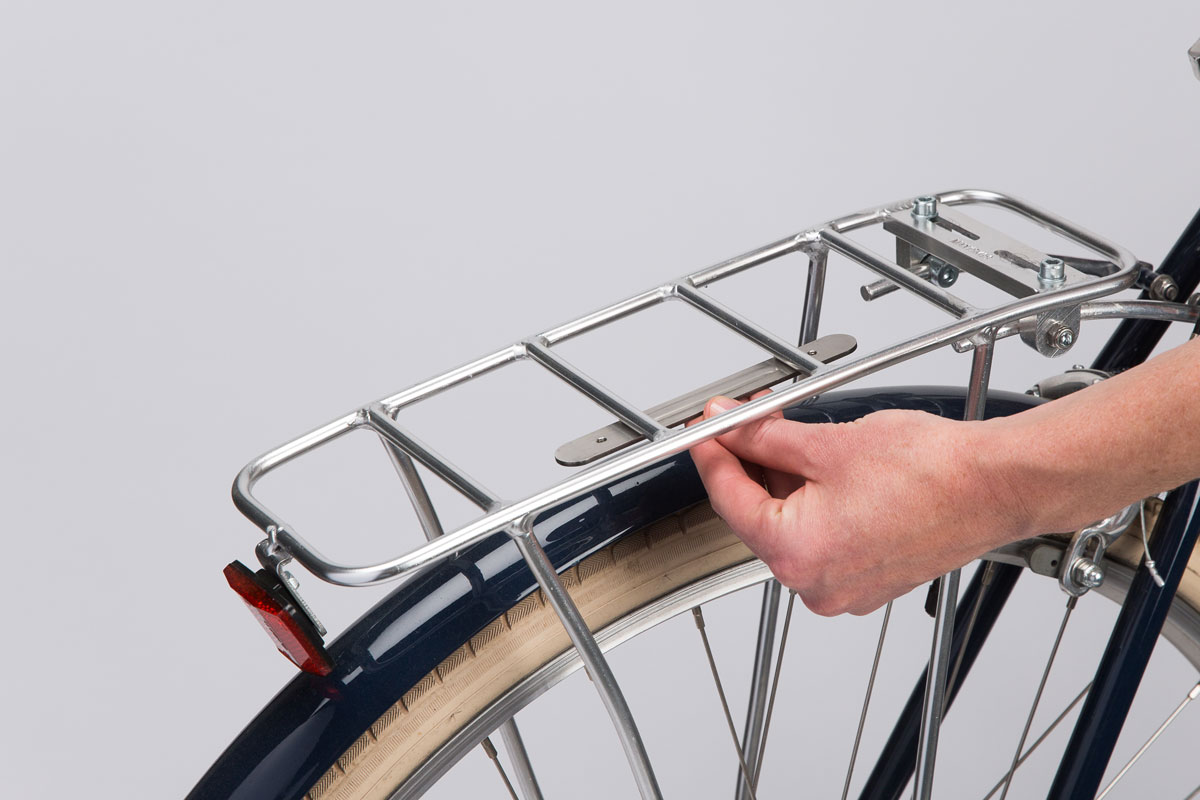
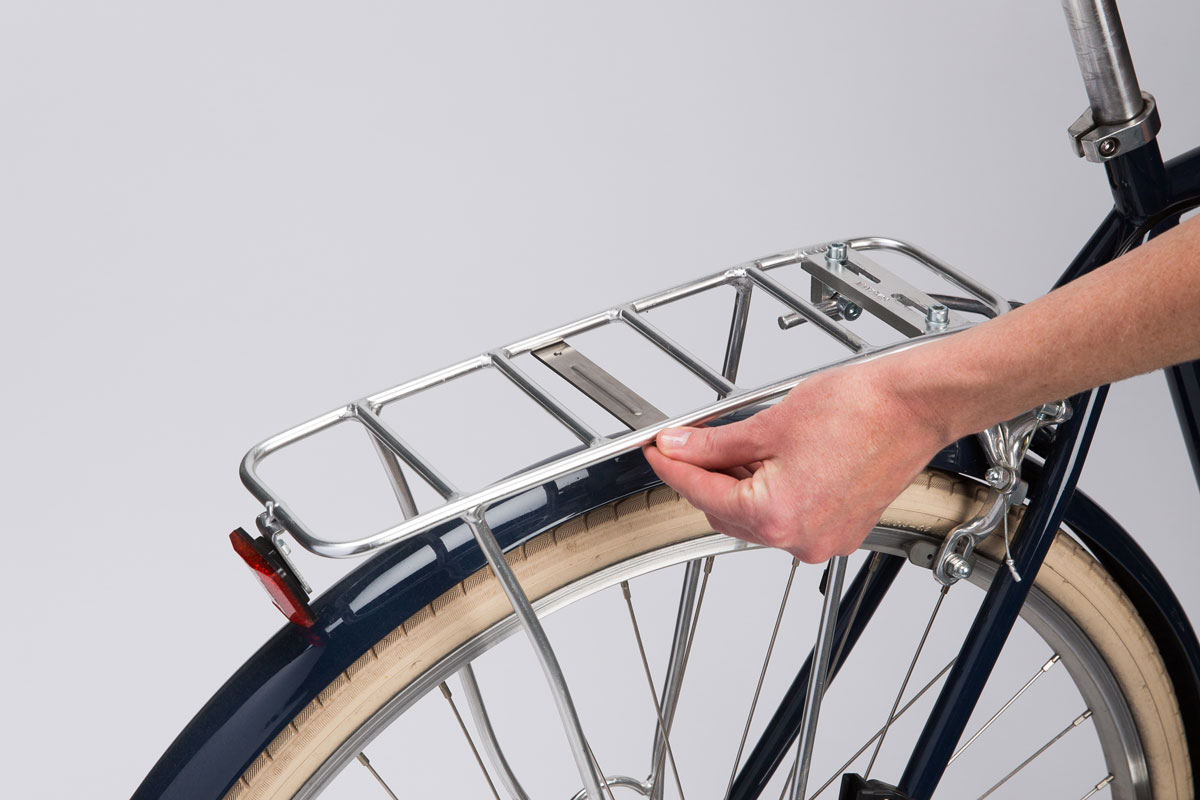
Determine the Bracket Position
-
a
Look at your rack (each is a little different) to find a position where both holes are showing.
-
b
Brackets can be positioned perpendicular or parallel to rack edges. Bump on bracket should face upward.
-
c
Brackets go underneath your rack and hold Buca Boot in place on your bike.
-
a
-
Step 2
Almost there!
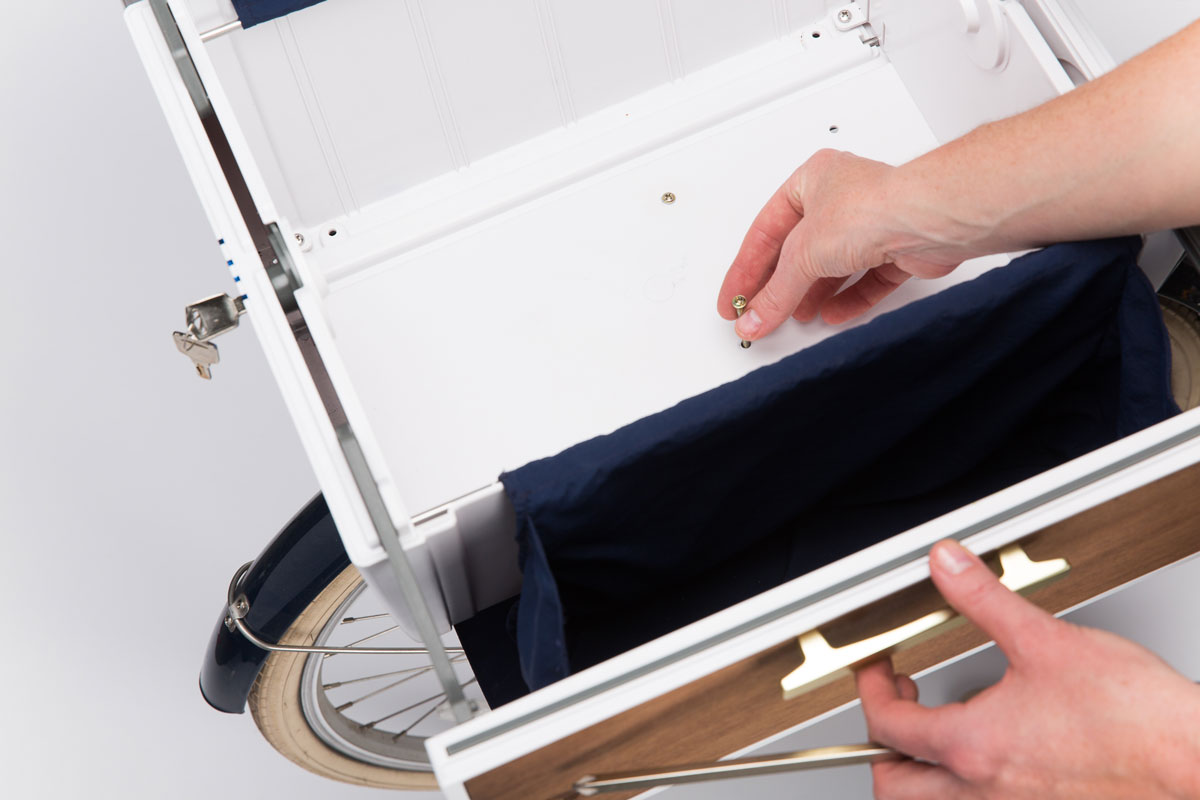
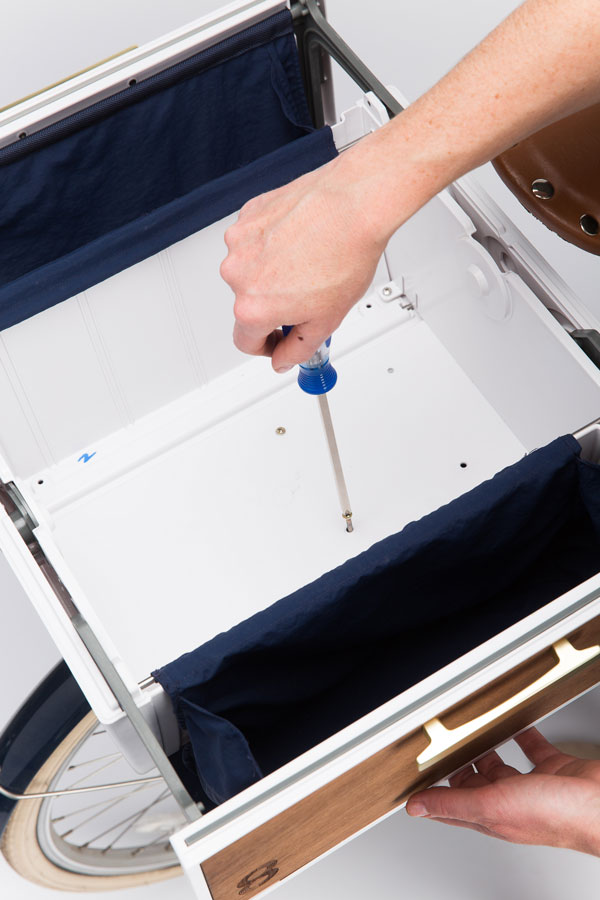
Fasten Buca Boot to Bike Rack
-
a
Open Buca Boot. Remove black foam insert from base.
-
b
Line up holes on base of Buca Boot with holes in mounting brackets.
-
c
With the top open, attach each screw to the bracket. Screw head should be inside the Boot. Tighten with screwdriver.
-
d
Place foam insert back in original position.
-
a
-
Step 3
Show us your stuff!
Take a Photo — And Register Your Keys!
-
a
Snap a picture of your snazzy new Buca Boot right now! Share it with us on Instagram @bucaboot. You can also find us on Twitter & Facebook.
-
b
Register your keys. Registration ensures that if you ever lose your keys, we can help you get a new set. You can register right here.
-
a
Step-by-Step
Don’t Miss Out!
-
Navy
-
Tomato
-
Steel
-
Subtotal $0.00Qty 0
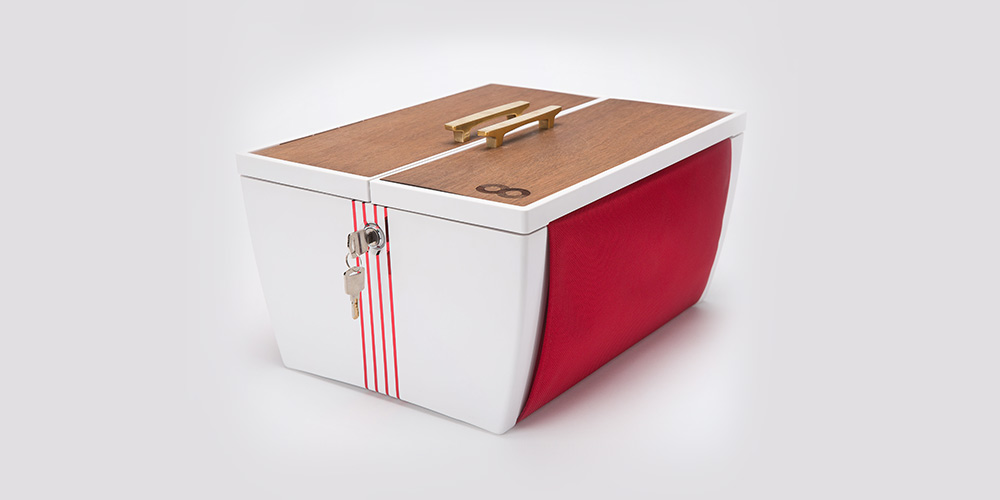
Buy a Buca Boot
Choose Your Color — $225.00